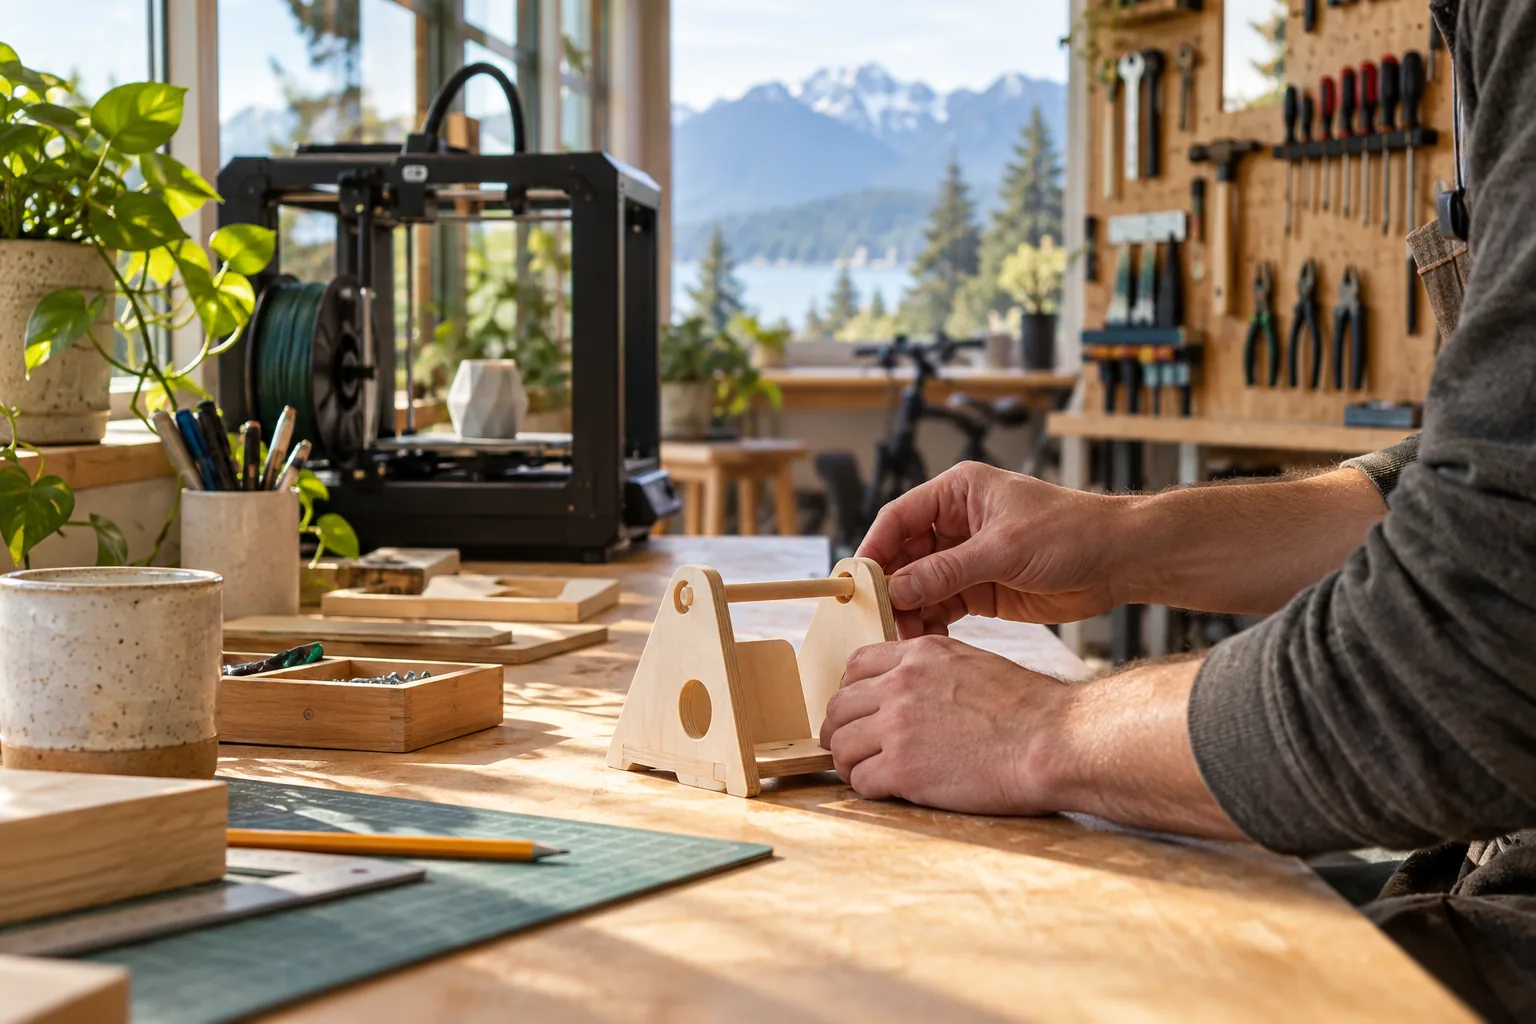
Pick a makerspace based on what you actually want to make and how much help you need. A shared workshop gives you access to space and tools, but don't assume that a membership automatically comes with lessons, permission to use every machine, or a place to store your project.
Local starting points
MakerLabs Vancouver provides making facilities and classes in Vancouver, covering things like woodworking and ceramics. Over in Langley, Maker Cube offers workspace access along with classes and onboarding. You should ask each provider about their current equipment and what the access requirements look like for your specific project.
If you are looking for a woodworking project that is primarily taught to you, The Urban Woodworker is a course-based option with locations in Vancouver, North Vancouver, and Surrey. If you want to do ceramics, a specialist pottery studio might be a better bet for lessons, practice, and firing than a general-purpose workspace.
You can use the makerspace directory to find shared facilities, or the creative class directory if your first priority is instruction. Treat these as different types of purchases; don't assume a membership is a substitute for a beginner course.
Take a project brief to your first enquiry
Be specific when you ask about a space. Describe the object you want to make, the materials you'll use, the dimensions, the tools you think you'll need, and your current experience level. Tell them if you need help with design, supervised practice, or just the equipment. If your project uses large sheets of material, heavy parts, or requires a long time for drying or assembly, mention that before you start buying materials.
Check if the space supports your entire workflow. Just because they have a saw doesn't mean you have access to every other tool, finishing area, or storage setup your project needs. A tour is great for getting a feel for the layout, but get the actual terms in writing before you commit to a membership or a course.
Separate the costs
| Cost or rule | What to establish |
|---|---|
| Introductory class | Whether it teaches the skill you need |
| Orientation | Which equipment or areas it authorizes |
| Membership | Included access, booking rules and recurring charges |
| Materials and consumables | What you supply or purchase separately |
| Storage | Size limits, duration and fees |
| Specialist equipment | Reservations, supervision and any extra charges |
Don't assume a certificate from one workshop counts at another. Every space sets its own rules for training and access. Also, keep in mind that just because a staff member is on-site doesn't mean you get one-to-one instruction during your entire session.
Plan for working independently
Find out how to ask for help, what happens if a piece of equipment is busy, and which tasks require supervision. Figure out how much uninterrupted time your project needs and if your schedule actually works with their booking system. A workspace is only useful if you can actually book the tools when you are available to use them.
Ask about access for specific benches, machines, and tasks, as well as the entrance itself. You'll need to follow the shop's rules regarding clothing, safety gear, cleanup, and how to handle materials. If a younger person is participating, check the specific age and supervision rules; you shouldn't assume a public makerspace is a drop-in program for children.
Before signing up
If you aren't sure what kind of access you'll actually use, start with a specific class or a small, well-defined project. Confirm the rules for cancellations and renewals, what the storage obligations are, and what happens to your unfinished work if your membership ends. The right space is the one where the instruction, equipment, and logistics actually match the work you want to do.